
A polished video is not the learning target. Build the project around accurate information, purposeful writing, clear roles, and revision checkpoints so the process produces evidence you can teach from.
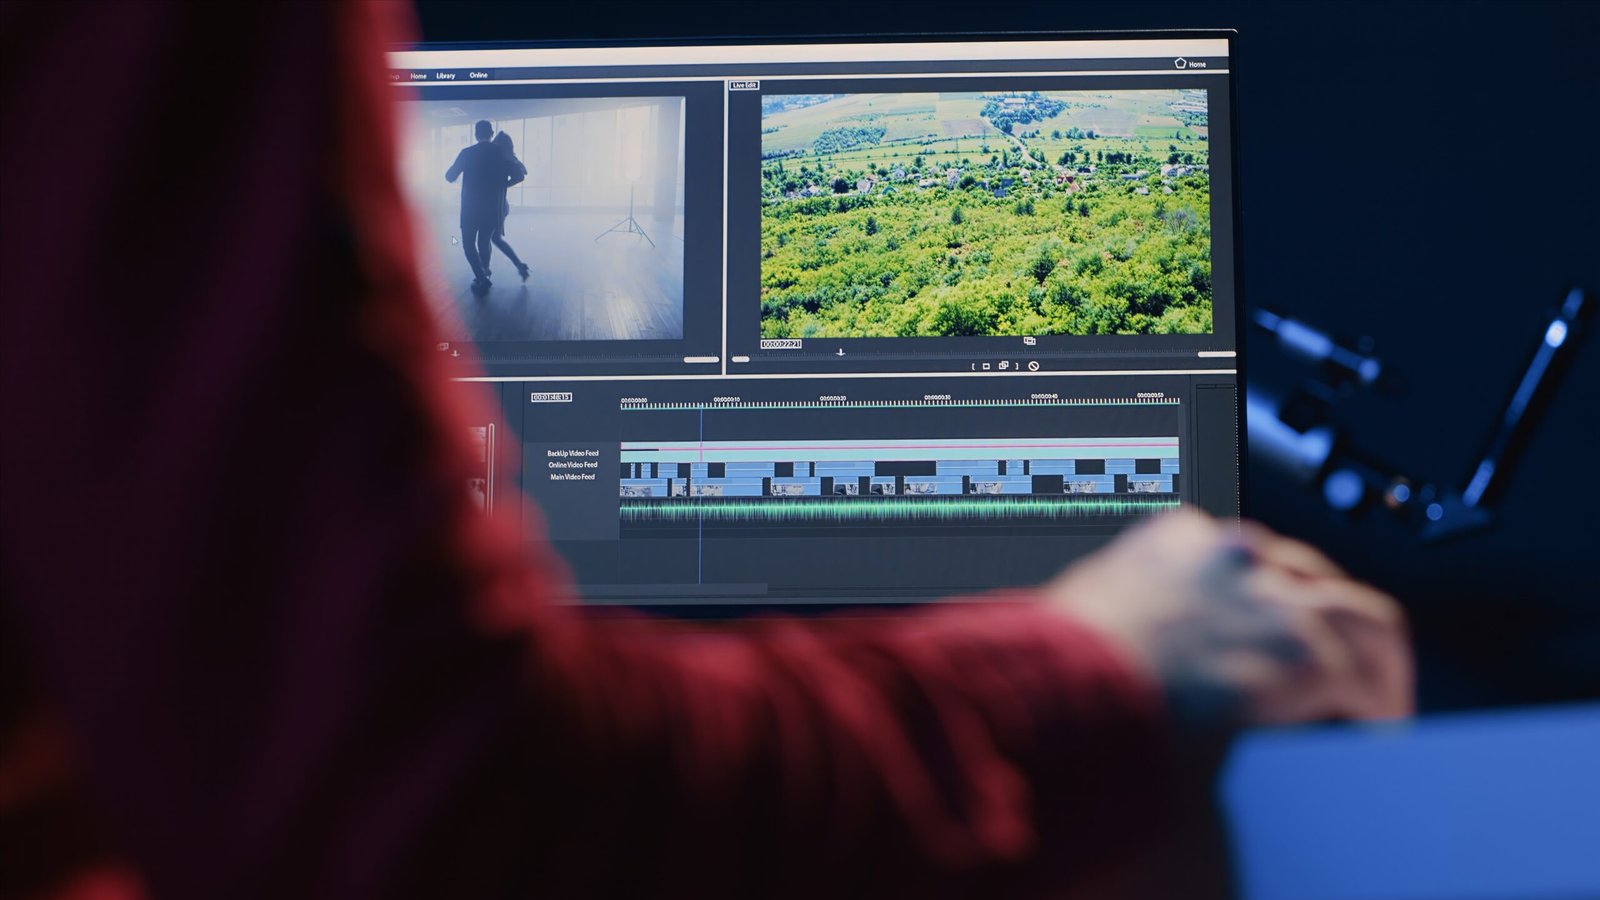
Student media projects can create opportunities to practice writing, research, collaboration, speaking, and technical decision-making. Those skills do not appear automatically because a camera is in the room. The strongest plan names the evidence each student will produce before anyone starts recording.
Start with the evidence, then choose the medium
Ask: What should I be able to see or hear when a student understands? A 60-second explainer may be a good fit when students must summarize a process for an audience. A short interview may fit when students must ask focused questions and synthesize answers. If a paragraph or diagram would show the learning more directly, use that instead.
A three-class project model
Challenge: Create a 60-second explainer for middle school students. Your audience should understand one important idea and know where the information came from.
Your team submits: a focused question, two verified facts with source links, a 90–130 word script, a six-frame storyboard, the final video, captions or a transcript, credits, and one individual reflection from each team member.
Sentence frames: “Our main idea is ___ because ___.” “According to ___, ___.” “We chose this visual because it helps the audience understand ___.”
Verify two facts, draft the hook and explanation, and read the script aloud for timing. Teacher checkpoint: accuracy, source quality, and a single clear message.
Plan six frames in Canva or on paper. Assign roles, rehearse, and record short takes. Teacher checkpoint: every visual serves the message.
Add captions, credits, and only the effects that improve meaning. Conduct a peer playback, revise one issue, and submit individual reflections.
Roles that support accountability
Roles make production manageable, but they should not hide individual learning. Rotate roles across projects or pair each role with a small piece of individual evidence.
| Role | Team responsibility | Individual evidence |
|---|---|---|
| Researcher | Checks facts and records source details. | Source note explaining why one source is useful. |
| Writer | Shapes the script for clarity and audience. | Revision note showing one sentence improved. |
| Presenter | Rehearses delivery and records usable takes. | Reflection on pacing, emphasis, or pronunciation. |
| Producer/editor | Organizes files and aligns visuals, audio, and captions. | Explanation of one technical choice that supports meaning. |
A concrete model of quality
For a fictional explainer titled Why Salt Melts Ice, a quality plan might include:
- Focused claim: Adding salt can lower the freezing point of water, which can help melt ice under suitable conditions.
- Evidence plan: two credible sources listed in the project notes; claims are limited to what those sources support.
- Script: 112 words with a question hook, a plain-language explanation, and a closing connection.
- Storyboard: six frames showing the question, an ice-and-water model, the change in freezing point, a limitation, and the source credit.
- Accessibility: readable captions, audible narration, and no essential information communicated by color alone.
- Revision evidence: a peer notes that “salt makes ice hot” is inaccurate; the team replaces it with a precise explanation.
Vocabulary and feedback language
Useful terms
- Audience: the people the message is designed for.
- Storyboard: a visual plan for shots, text, and sequence.
- B-roll: supporting footage shown while narration continues.
- Attribution: identifying where information or media came from.
- Rough cut: an early edit made for feedback.
Actionable feedback frames
“Your evidence supports ___, but the script also claims ___.”
“The audience may lose the main idea when ___.”
“Keep ___ because it clarifies ___. Revise ___ by ___.”
“This effect adds/does not add meaning because ___.”
Use a small rubric students can act on
| Criterion | Ready | Revise |
|---|---|---|
| Accuracy | Claims match the cited sources and limitations are clear. | Correct an unsupported or overstated claim. |
| Clarity | One main idea is easy for the intended audience to follow. | Cut a side point or explain a key term. |
| Evidence | Sources are credited and connected to specific claims. | Add attribution or replace a weak source. |
| Production | Audio, visuals, captions, and pacing support meaning. | Fix the one technical issue that most blocks understanding. |
| Revision | The team names and makes a purposeful change. | Use feedback to revise, then explain the choice. |
Common mistakes and scaffolds
- Students start filming before they know the message. Require a question, source check, script, and storyboard checkpoint first.
- One student does all the editing. Collect role evidence and an individual reflection from everyone.
- Effects overpower the content. Ask, “What does this choice help the audience understand?” Remove it if there is no answer.
- Research becomes copied text. Have students close the source, explain the idea aloud, then draft in their own words and check accuracy.
- Feedback arrives after export. Review the script and rough cut, when revision is still manageable.
- Students use media without permission or credit. Teach approved sources, attribution, and the school’s media-use expectations before production.
Check for understanding
Before launching, ask students to answer three questions on a planning ticket:
- What should your audience understand after watching?
- Which source supports your most important claim?
- What will you personally create or revise?
Teacher launch checklist
- Is the academic target more specific than “make a video”?
- Are source, privacy, copyright, and recording expectations explicit?
- Can students complete the task with available time and equipment?
- Does every role produce visible evidence?
- Is there a checkpoint before recording and another before the final export?
- Can students revise after receiving feedback?
Feedback and revision guidance
Prioritize the change that most improves accuracy or audience understanding. Do not bury students under a list of camera and editing notes while the central claim is unclear. After revision, ask each student to name the feedback used, the change made, and why it improved the message.
Explore the Media Lab project examples, then adapt the workflow to your subject and available tools. More planning routines are in the classroom playbook.
Source to explore
The ISTE Standards for Students describe a Creative Communicator who chooses appropriate platforms and tools and communicates clearly through digital objects and media. See the official ISTE Standards for Students. The project brief, rubric, and fictional example above are original teaching materials.